Name tracing worksheets: From dotted letters to writing independently
Use a printable name tracing worksheet to practice letter order, spacing, and independent name writing. Includes a four-stage routine and a worked example.
Start with the name they actually use
Print the version your child writes on their work. For some children that is a first name, for others it is a nickname or a first and last name. Use the capitalization you expect to see on everyday work. For a long name, give it a line of its own and check that the letters in the preview are large enough to trace comfortably. If the full name looks crowded, practice the first and last names on separate sheets.
Work through four kinds of practice
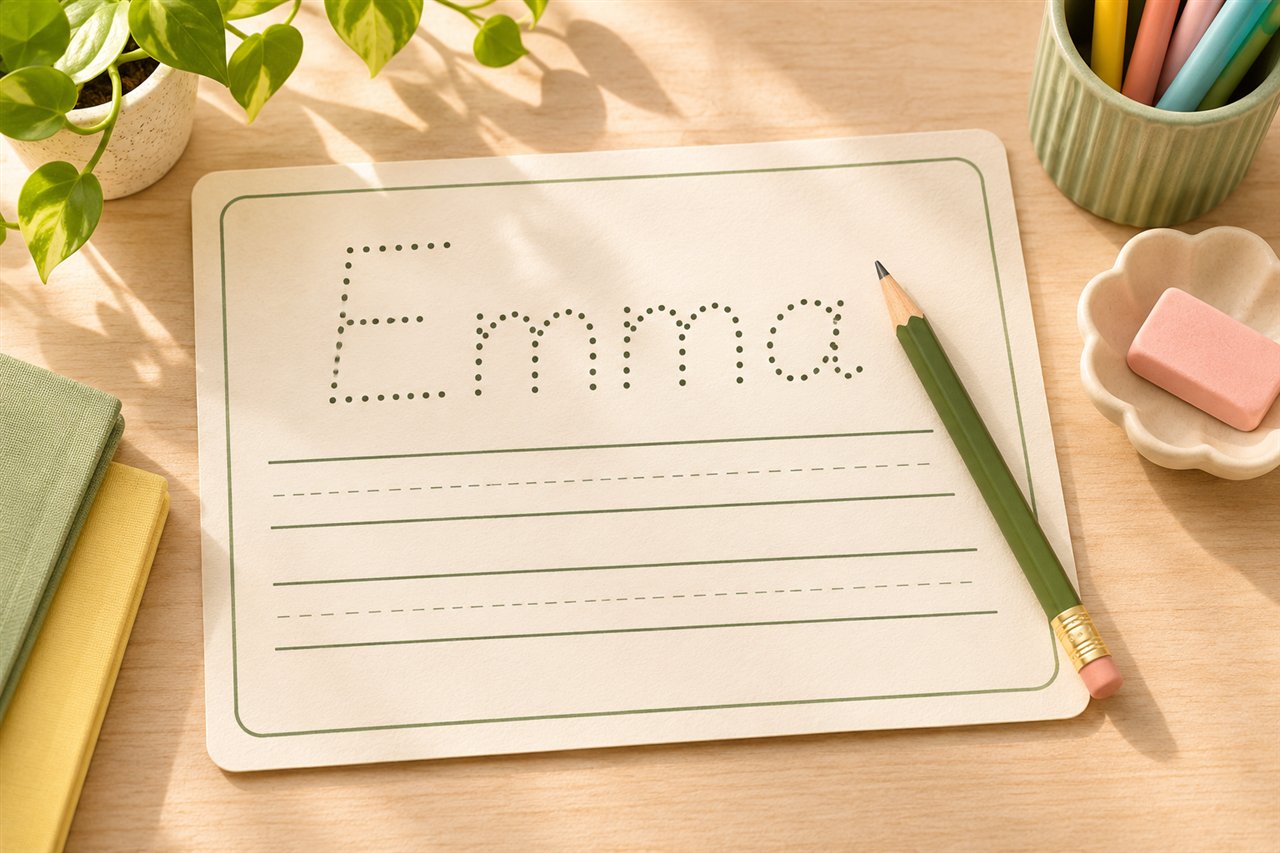
- Trace a dark dotted model. Say the letters together. Demonstrate how to start any unfamiliar letter, then let your child trace one example at a comfortable pace.
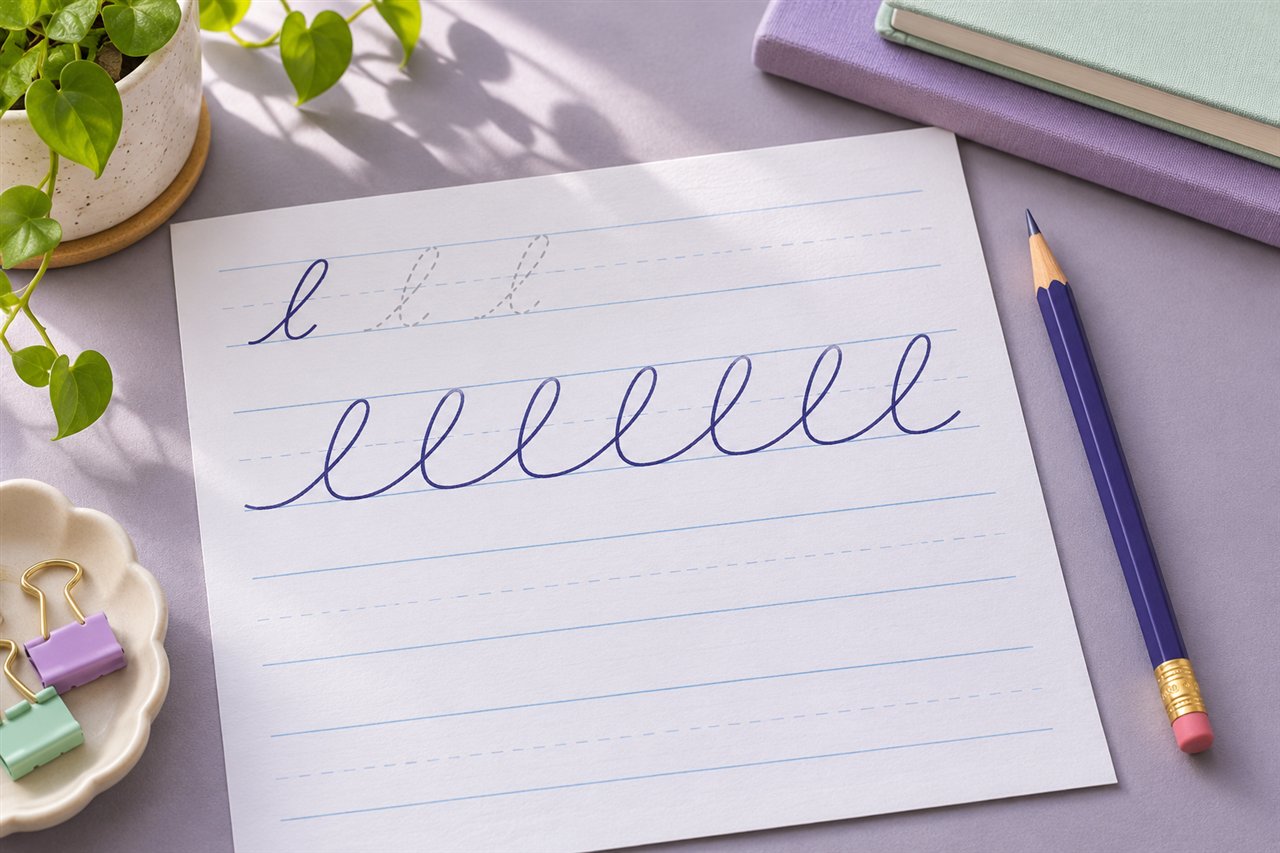
- Trace a lighter model. Ask your child to name the next letter before writing it. A faint guide gives them room to look at the shape they are making.
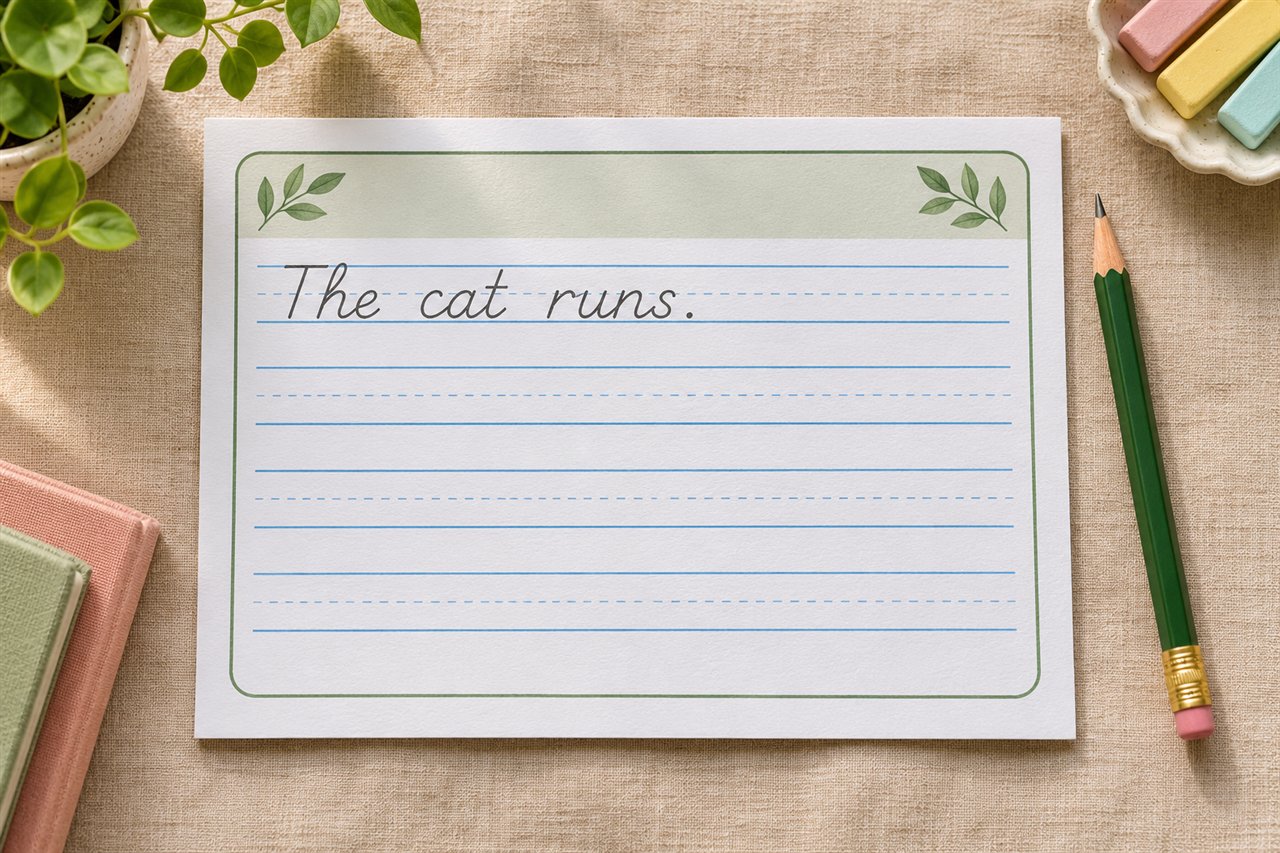
- Copy from a model. Keep the printed name visible and have your child write on a blank line below. If they lose their place, point to the next letter in the model.
- Write from memory. Cover the model and ask your child to sign a blank line. Uncover it and compare the letter order together.
Plan for a short session
Choose one stage for each session or pair a trace row with a copy row. Look for one small improvement, such as writing the letters in order or leaving a space between names. End by using the name for a real purpose, such as signing a drawing.
Make the packet
In the Name Tracing tool, enter the name and select Four-stage packet under Practice style. Choose a letter size, preview each stage, and download the PDF. You can print only the stage you want to use that day.
A worked example for the name Elena
Choose Elena, portrait Letter, and a large practice size. Show the learner the capital E at the beginning and the two lowercase e forms in the rest of the name. Point to the full model before starting. Ask the learner to say the name, then read the letters from left to right together. For the first attempt, trace the first line and stop to look at the result.
Next, copy the name with the printed example uncovered. If the learner writes Elna, use one finger to touch each corresponding letter on the model and the copy until you find the gap. Invite the learner to try one more time underneath instead of erasing a whole row. When the learner can copy the name while keeping their place, cover the model for one attempt and compare it afterward.
Choose the stage based on what you see
| What happens on the page | What to try next |
|---|---|
| The learner loses track halfway through the name | Point to each letter in the model and practice the name in two short groups. |
| The beginning looks right but the final letters are crowded | Pick a wider writing area, and ask the learner to leave room before starting. |
| The learner can trace but hesitates at a blank line | Keep a model directly above one blank line, then cover it for a second try. |
| The learner writes the whole name without looking | Try signing a drawing or writing the name on a classroom label. |
Adapt the packet for a group
Save the same paper size and letter size as formatting preferences, then generate a sheet for each name. Preview long or hyphenated names individually. If a full name shrinks until the guide is difficult to use, print the first and last names separately. Keep the PDFs in a private location and check each printout before handing it out. For more practice after names, try a letter tracing packet using the letters that caused trouble.
Try it with your own worksheet
Customize the page, check the preview, and download a free PDF.