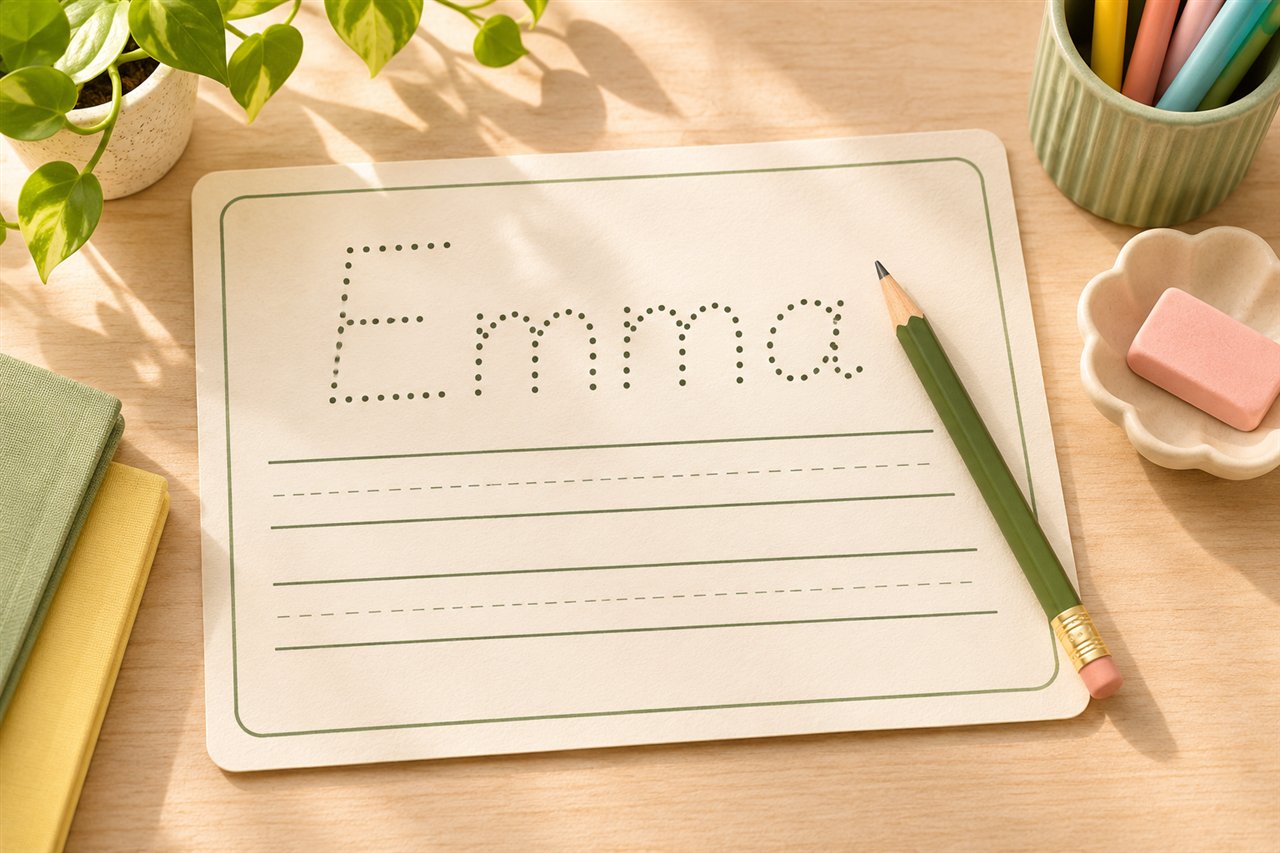
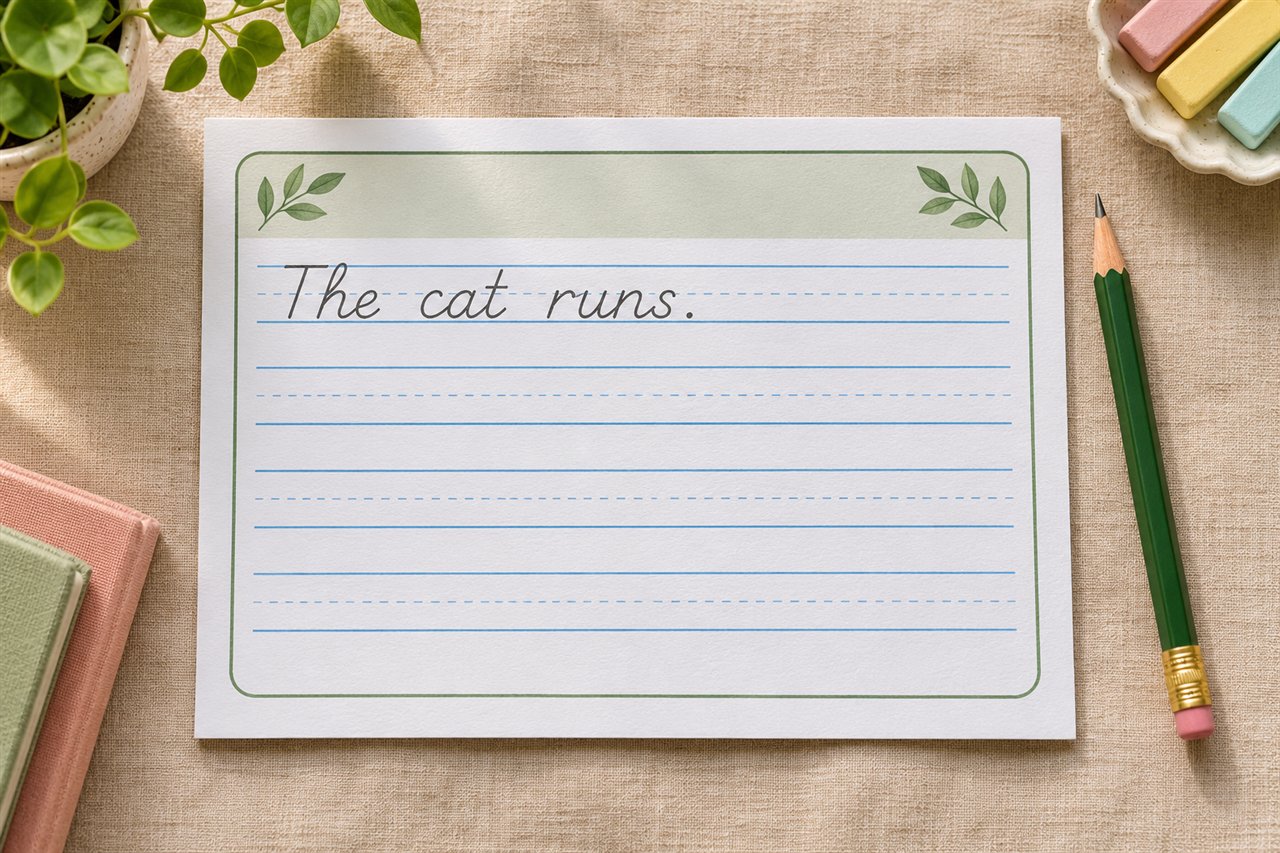
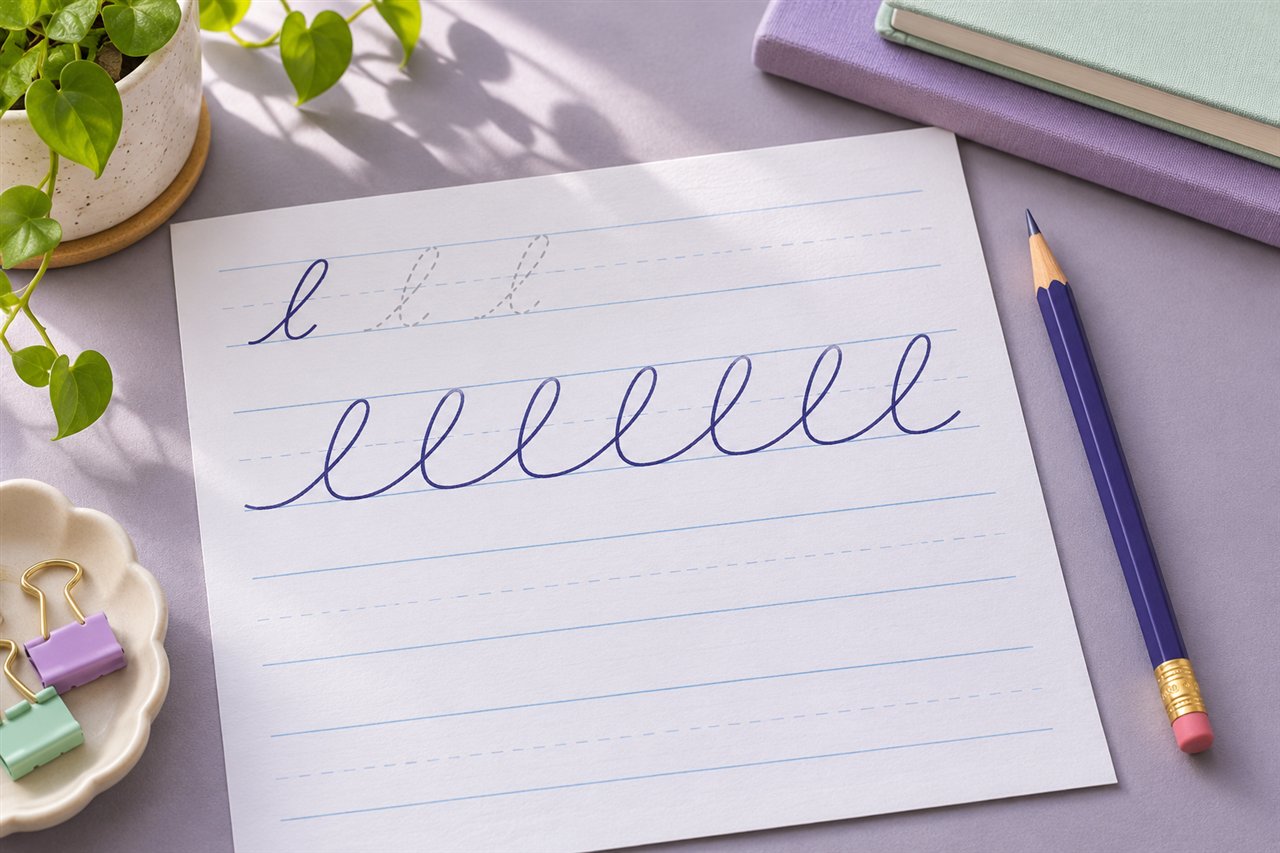
Make an uppercase and lowercase letter tracing packet
Make uppercase and lowercase letter tracing worksheets around a name or short alphabet set. Learn to choose letters, use guides, and check practice.
Start with letters the learner recognizes
Choose two or three letters from the learner’s name or a familiar word. For example, a child named Ben might start with B, E, and N. Say each letter’s name, point to its capital and lowercase form, and look for it in a book or on a classroom label. Add new letters as the first set becomes familiar.
Compare each pair out loud
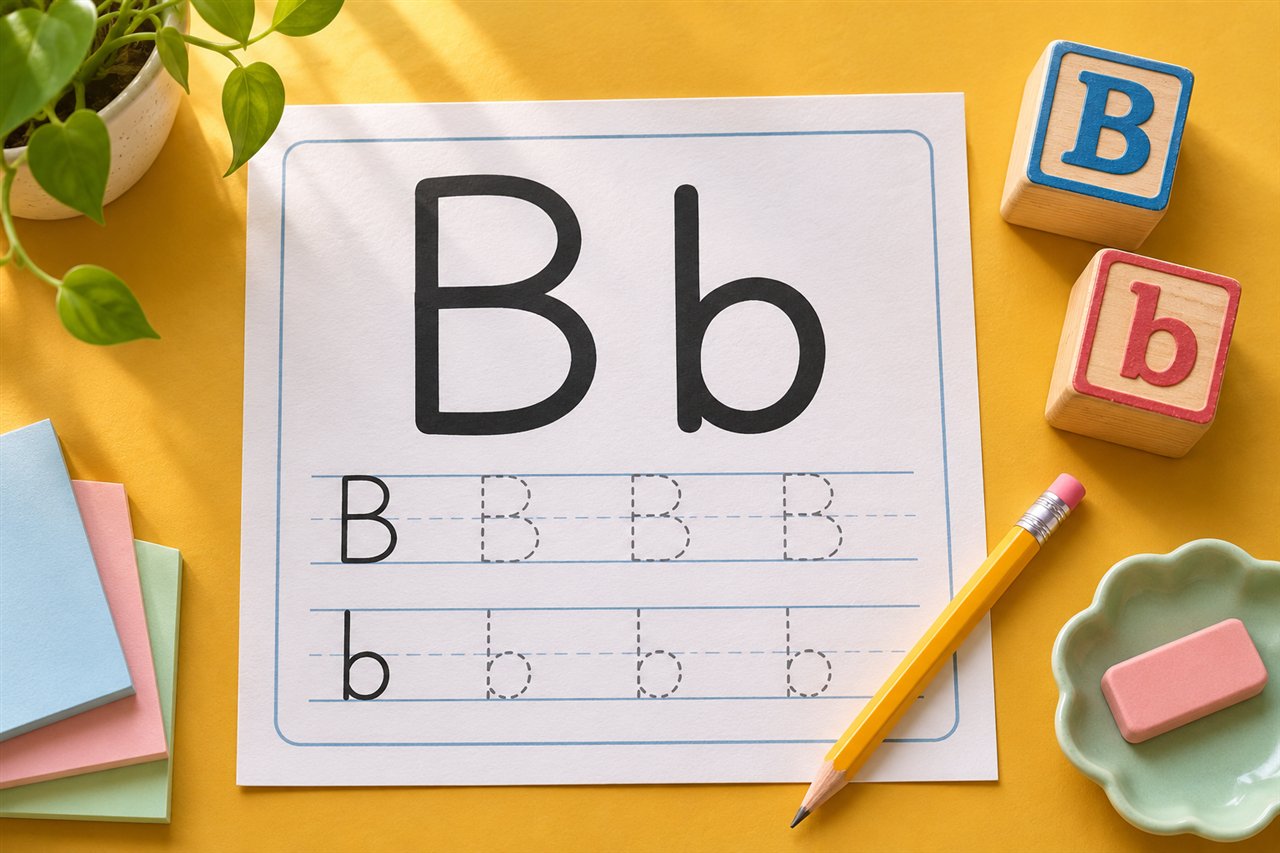
Some pairs, such as C/c, look alike at different sizes. Others, such as B/b, have different shapes and can use a different starting stroke. Show where your pencil starts for each form. Point to the baseline and notice which parts reach the upper guide or stay near the middle guide. Let the learner trace one form, then copy it on a blank line.
Use the sheet in stages
- Look and name. Ask the learner to find the target letter among two or three choices.
- Trace. Trace one uppercase and one lowercase example slowly. Add another row only when the learner still wants practice.
- Copy. Keep a model visible while the learner writes on a blank guide.
- Find it in a word. Circle the letter in a familiar name, label, or sentence.
If b and d get confused, practice them on separate days first. Later, compare the two written forms and ask the learner to show where each one begins.
Print a focused packet
Enter your selected letters in the Letter Tracing Generator and choose Upper and lower in Letter case. Preview the page for each letter. Select fewer practice rows when you want a short session or larger letters. Save the whole alphabet for when you need a reusable classroom set.
Build a packet around a familiar name
For a learner named Mila, enter M, I, L, A. Select Upper and lower and preview the page for each letter. Print the M page for the first session and keep the others ready for later. Circle the capital at the start of Mila on a separate name model. Look at M and m on the tracing sheet and describe the difference in your own words before tracing.
On a later day, put an uppercase and lowercase letter on two slips of paper. Ask the learner to match one slip to the corresponding row on the sheet. Let them trace a row, then cover one model and ask them to write the same letter on a blank guide. Finish by finding the same form in a book, on a label, or in the learner’s name.
Use error patterns to pick the next sheet
If a lowercase letter floats above the baseline, point to the bottom guide and model where the pencil should meet it. If a letter looks slanted or stretched, print a larger example and practice a single stroke slowly. If a pair such as b and d causes confusion, put both models on a separate reference card and compare where each shape sits next to its upright stroke. Give learners time to copy both forms with the model visible.
Plan a packet that lasts several short sessions
A small alphabet packet lets you revisit the same forms without printing each day. Date the practice pages or put them in order so you can see which letters the learner has tried. After two or three pages, use the letters together in a short word. The handwriting copywork guide shows how to set up a model and a blank row once a learner wants to put several letters together.
Try it with your own worksheet
Customize the page, check the preview, and download a free PDF.